

AWS Resource Control Policies (RCPs) Explained: Demo with Secrets Manager


In addition to Service Control Policies (SCPs), which help us control the maximum permissions available to IAM users and IAM roles in your organization, we can also use Resource Control Policies, or RCPs, to control the maximum available permissions for resources in our organization.
This is a security feature that was launched on 11/13/2024. We’ve taken it for a spin and written this article to help you get started using them as an additional layer of security.
A great example of when this is useful is for securing secrets stored in Secrets Manager. If you have secrets in accounts that you know should never, ever be accessible by external AWS accounts, then you can enforce this with RCPs.
RCPs are very similar to SCPs in that you can’t use them to actually grant permissions. They don’t give permissions, they just set the maximum permissions that can be granted for a resource. In other words, they set limits.
They currently work with:
- Amazon S3
- AWS Security Token Service (STS)
- AWS KMS
- Amazon SQS
- AWS Secrets Manager
Let’s take a look at how they work with a demo for protecting Secrets Manager.
Enable AWS RCPs
In order to enable RCPs, you have to authenticate into your management AWS account, and then navigate to AWS Organizations.
Then, go to Policies in the left menu. The first time, you will have to Enable RCPs.

This will automatically generate your first RCP, called RCPFullAWSAccess. Again, this is very similar to SCPs which generates a full access policy since otherwise everything would be denied.
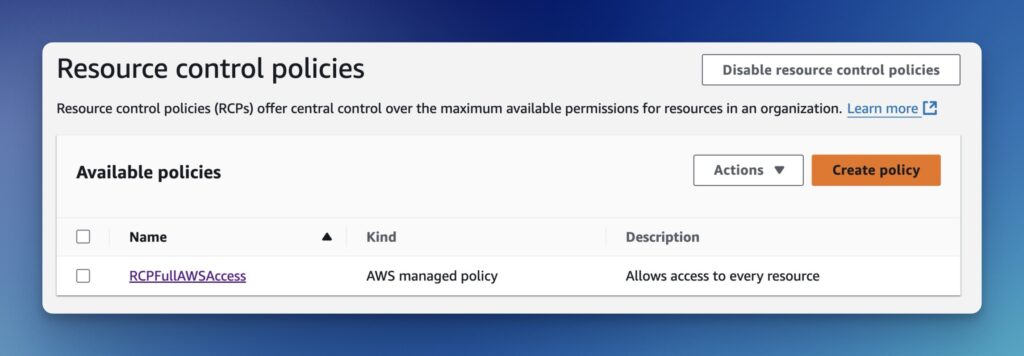
If we click on it, we can see the policy:
{
  "Version": "2012-10-17",
  "Statement": [
    {
      "Effect": "Allow",
      "Principal": "*",
      "Action": "*",
      "Resource": "*"
    }
  ]
}

Code language: JSON / JSON with Comments (json)
Since it’s an AWS managed policy, we can’t modify it.
Instead, we can create our own custom policies.
Create a custom RCP
Let’s create one to protect our Secrets Manager secrets. We’ll set it up so that only principals within our organization can access them.
Click on Create policy.
Let’s give it a name, like OrgPrincipalsOnly.
For the description, we’ll say:
Only allow principals within our organization to access resources
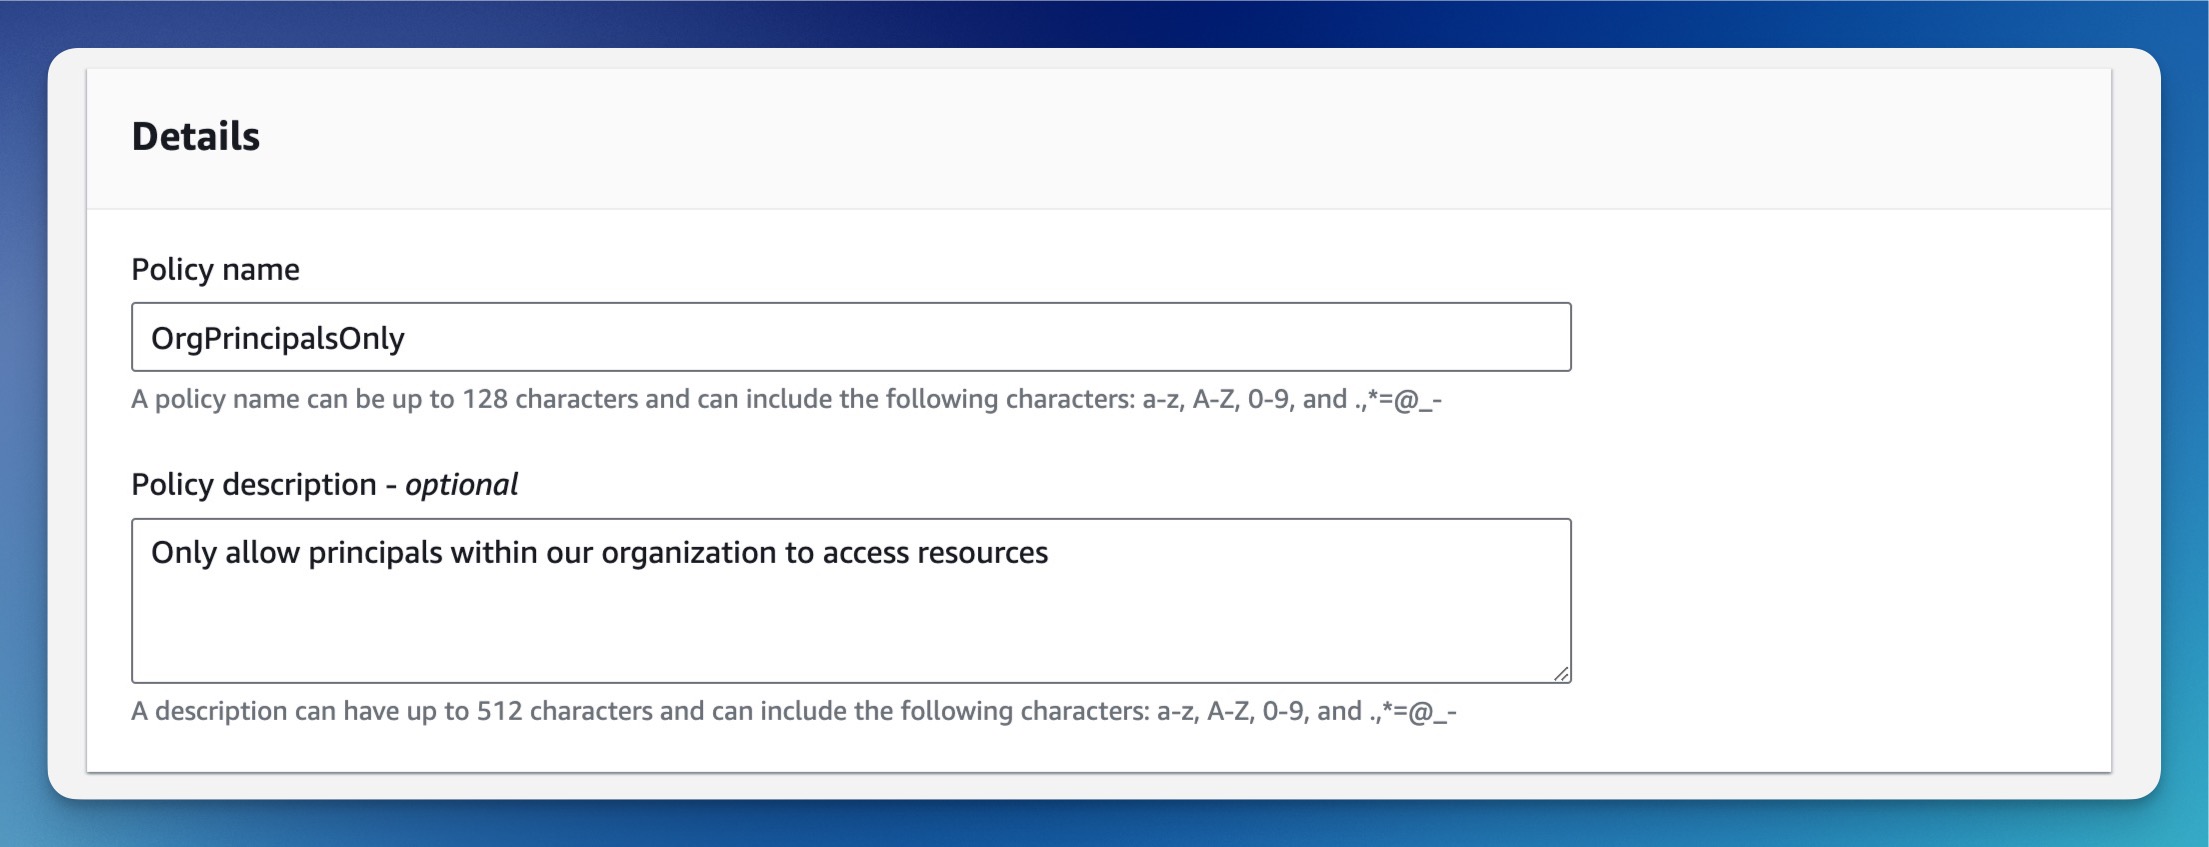
For the policy, here’s what we’ll use:
{
  "Version": "2012-10-17",
  "Statement": [
    {
      "Sid": "Statement1",
      "Effect": "Deny",
      "Principal": "*",
      "Action": "secretsmanager:*",
      "Resource": "*",
      "Condition": {
        "StringNotEqualsIfExists": {
          "aws:PrincipalOrgId": "<your-org-id>"
        },
        "BoolIfExists": {
          "aws:PrincipalIsAWSService": "false"
        }
      }
    }
  ]
}

Code language: JSON / JSON with Comments (json)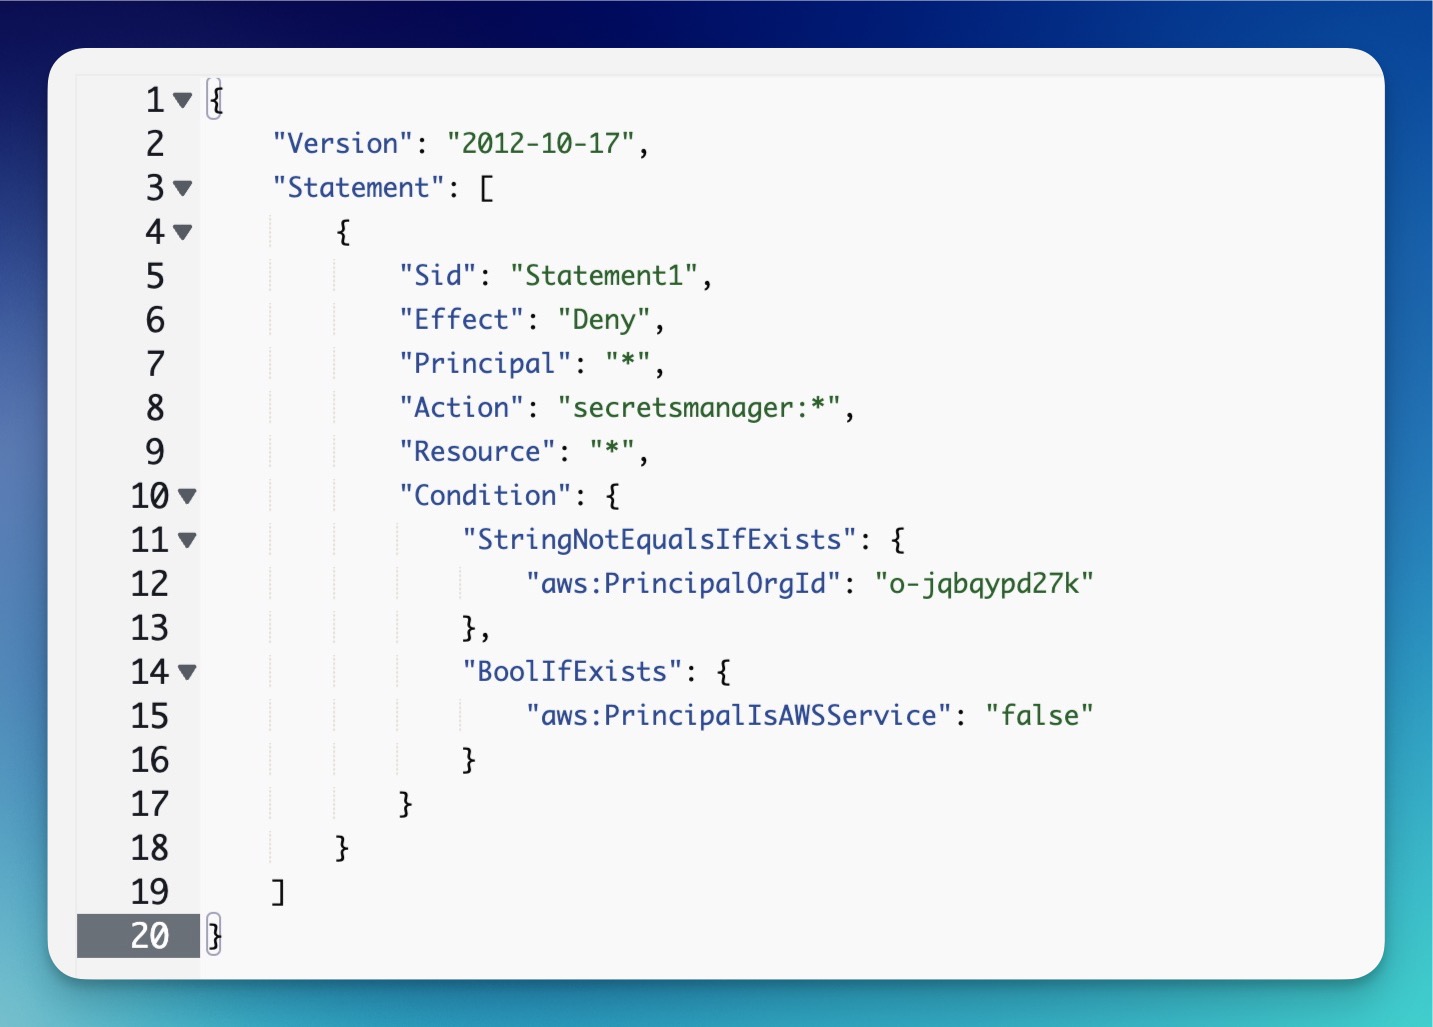
Replace <your-org-id> with the ID displayed in the left menu under Organization ID.
This is essentially saying that we want to deny everyone’s access, unless they match the aws:PrincipalOrgId of our AWS Organization. There’s an additional check to make sure we’re not blocking AWS services. This is helpful, for example, with Lambda functions that would need to rotate your secrets.
For a more detailed breakdown:
StringNotEqualsIfExists– this condition checks whether theaws:PrincipalOrgIdkey is present in the request being evaluated. If it’s not present, it automatically evaluates to true (which would deny the request). If it is present, then the policy checks whether it matches your org’s ID. If it doesn’t match your org ID, then the deny statement will take effect.aws:PrincipalIsAWSSerice– this key is used to check if the call being made is directly from an AWS service principal. Combined with"BoolIfExists", we’re checking if a) the key exists (if it doesn’t, then it evaluates to true), and b) if they key exists we check whether it equals to false. If it equals false, it means that the request is not coming from an AWS service, which means we want it to evaluate to true, and deny the request. If the call is from an AWS service, then theaws:PrincipalIsAWSServicewould be true, which would evaluate the condition to false, which would allow the request. It takes a second to wrap your head around this one, so feel free to re-read a few times.
Assigning it to AWS accounts
Once you’ve created an RCP, you need to assign it to AWS accounts (called “Targets”) by clicking on that tab.
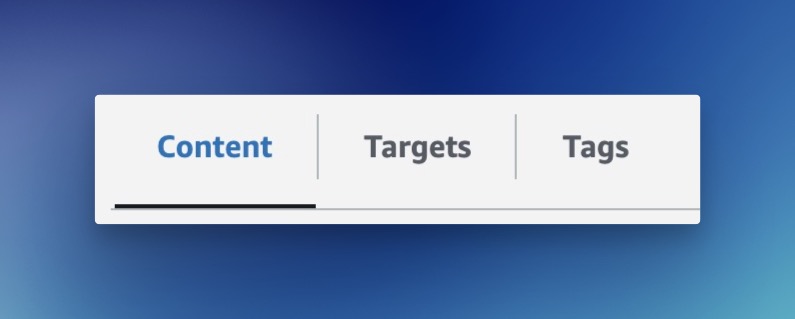
Then click on Attach.
You’ll be presented with your list of OUs and accounts, and you can select which ones this RCP should be applied to.
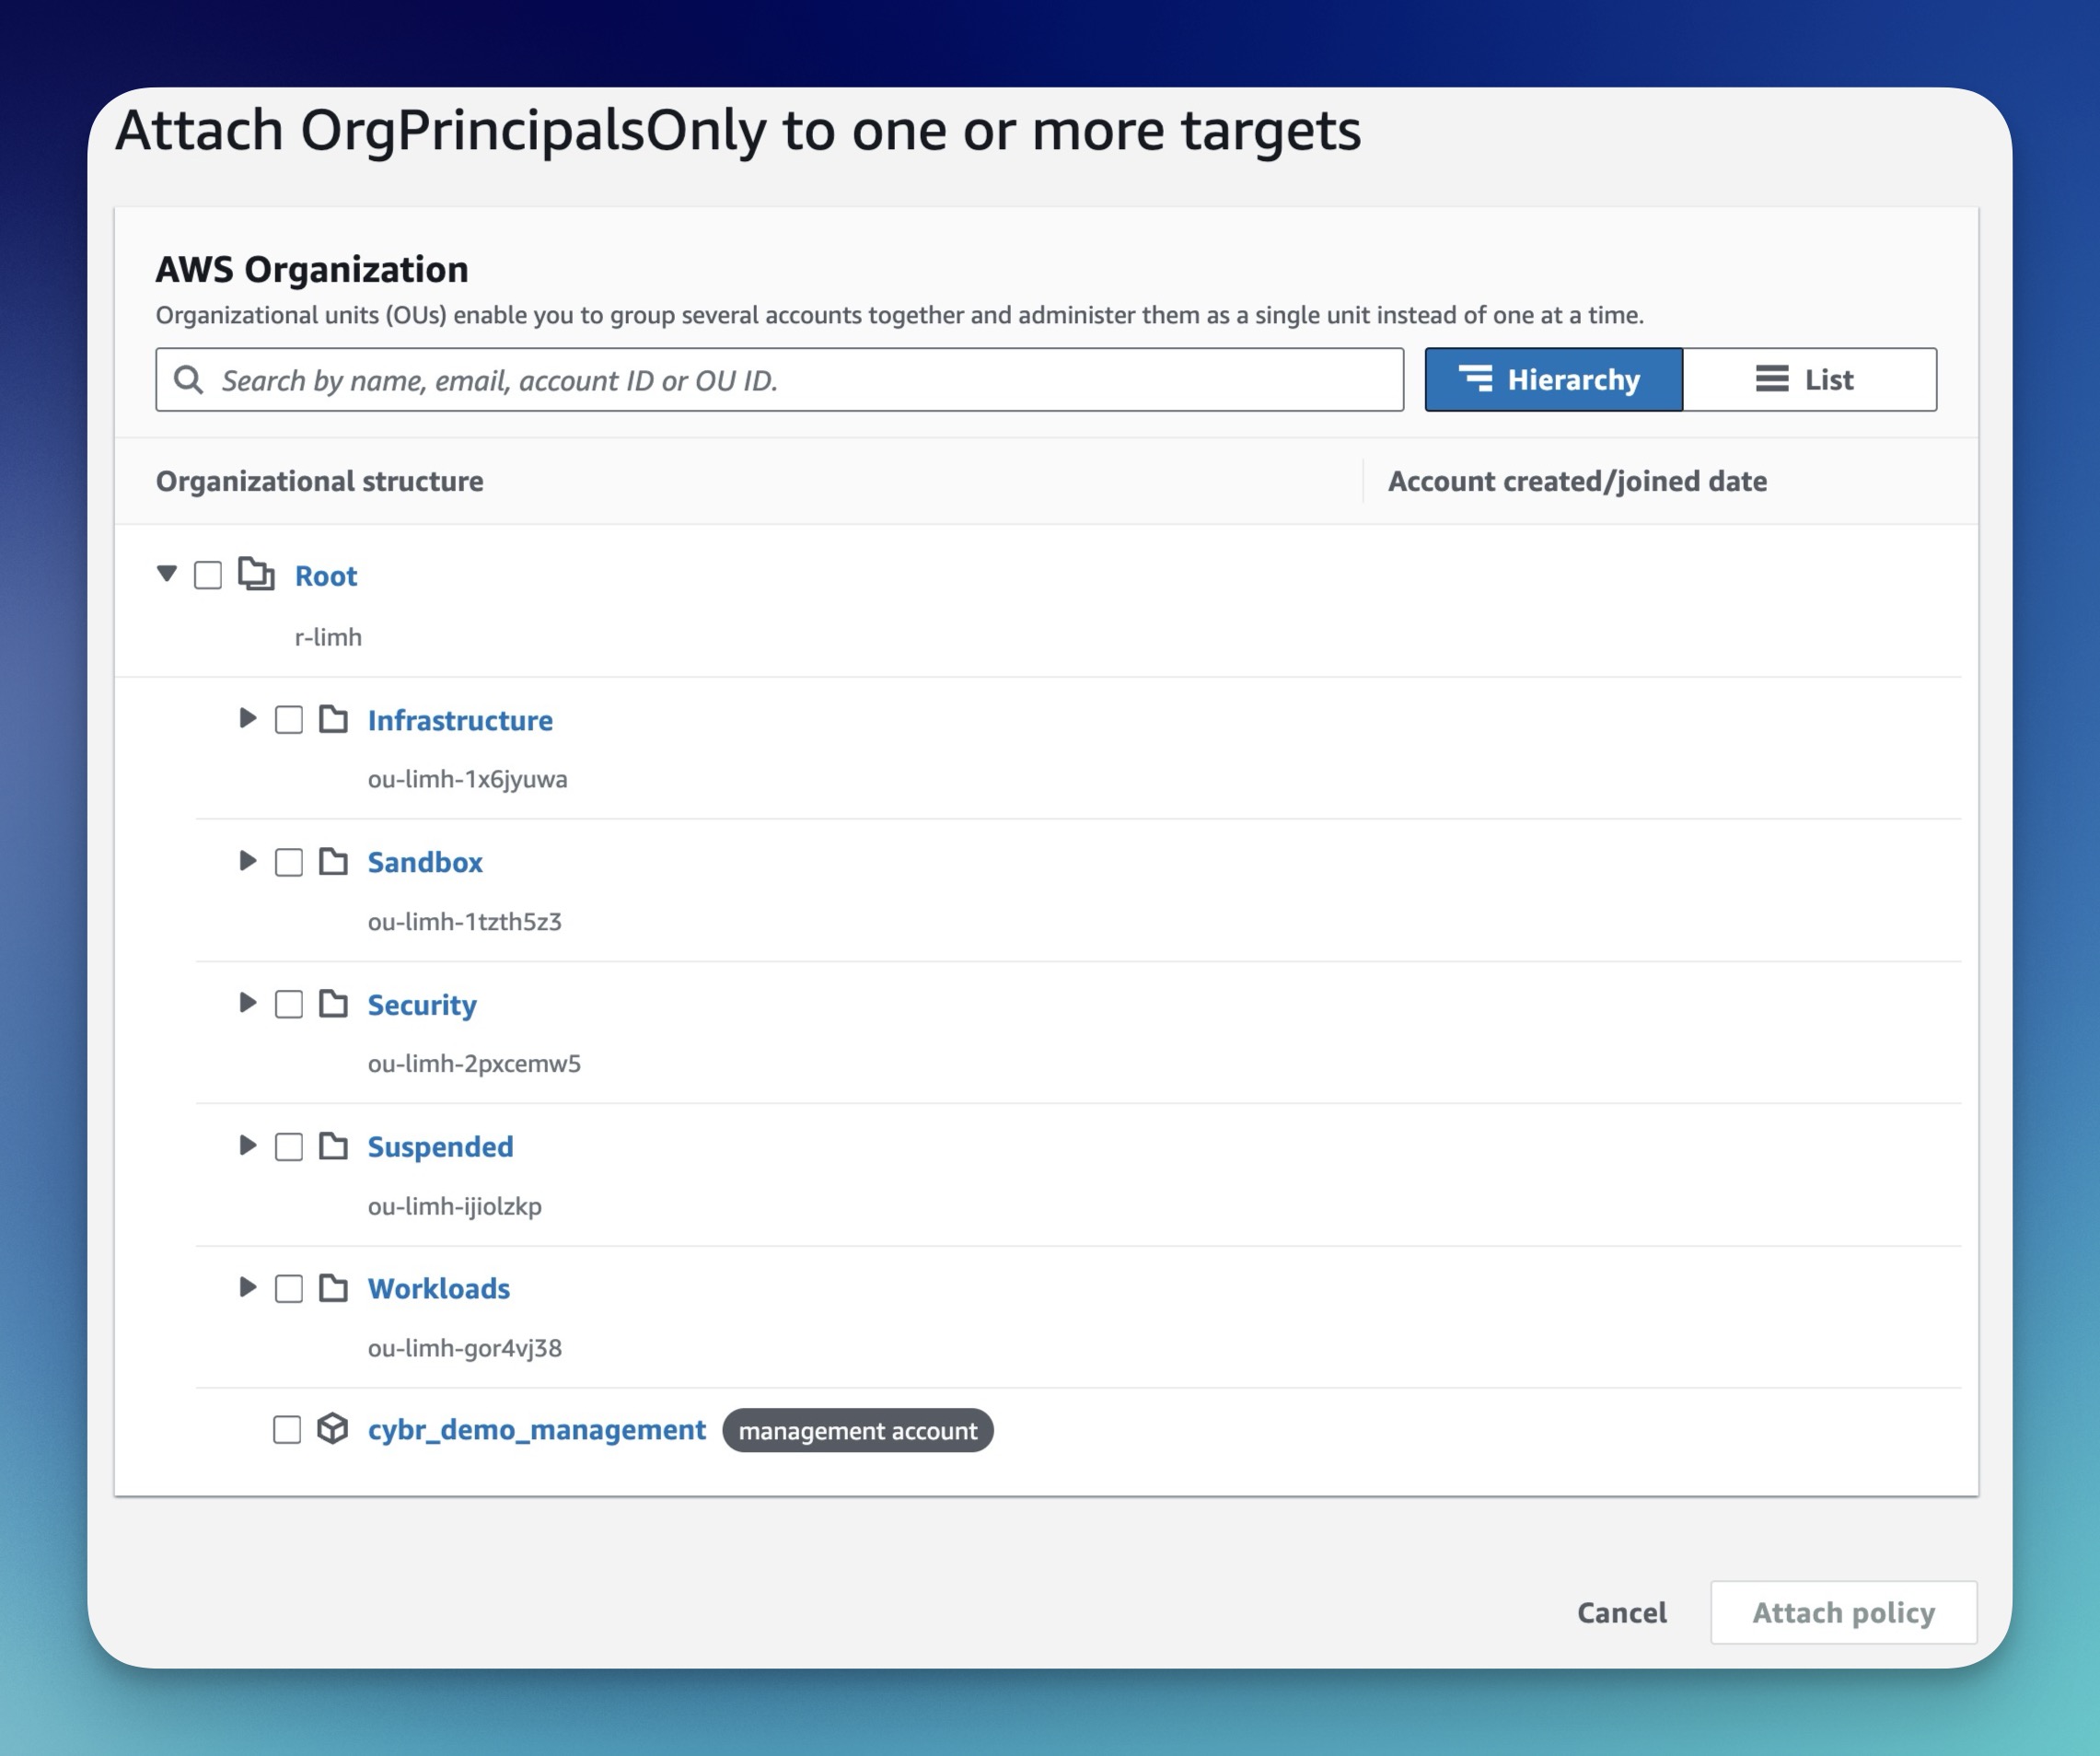
Before you go and attach it to every single account, remember that this can have a very big impact. If you have resources in production that require access to Secrets Manager that (for whatever reason) don’t match your AWS Organization ID, you will cut off their access and you could cause an outage. It’s very important that you test this out before deploying it to production.
Instead of attaching this RCP, let’s first test and make sure that the RCP is going to work.
Testing this RCP
To test this RCP, I’m going to use 3 different accounts across 2 different AWS Organizations:
- The first account, we’ll call Account A, is going to have the secret stored in it.
- The second account, Account B, is going to attempt to retrieve this secret value.
- The third account is just the management account, which we will only use to deploy the RCP.
At first, we want this to work, which is why I haven’t deployed the RCP yet. Then we’ll apply the RCP to prove that it successfully blocks the request.
I don’t except you to follow along if you don’t have 2 separate organizations you can access, but if you can follow along, here’s my process:
Creating the secret
In Account A, let’s start by creating our secret by navigating to Secrets Manager and then clicking on Store a new secret.

Select Other type of secret and then give it any key and value, it really doesn’t matter.

I chose a key of api_key and a value of testingrcps.
Because we can’t access secrets in other accounts if they’re encrypted with the default KMS key, we have to create a new KMS key for this to work. To do that, we can click on Add new key.
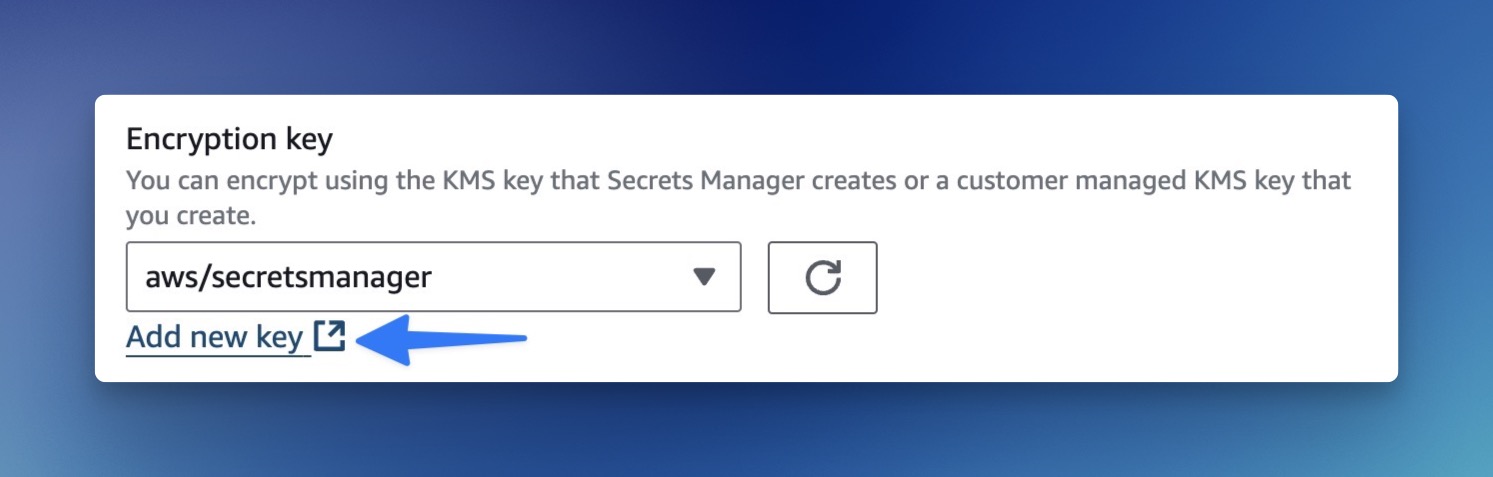
Creating a customer manage KMS key
In this new window, click on Create key.
Note: these keys cost money, so keep that in mind before proceeding.
I’m leaving all of the defaults in place under “Configure key.”
For the Alias I’ll just use testrcps .
I’ll again leave the defaults for the key administrative permissions.
On the next screen, for the key usage permissions, we need to Add another AWS account. Paste in the ID of Account B. Click Next and Finish.
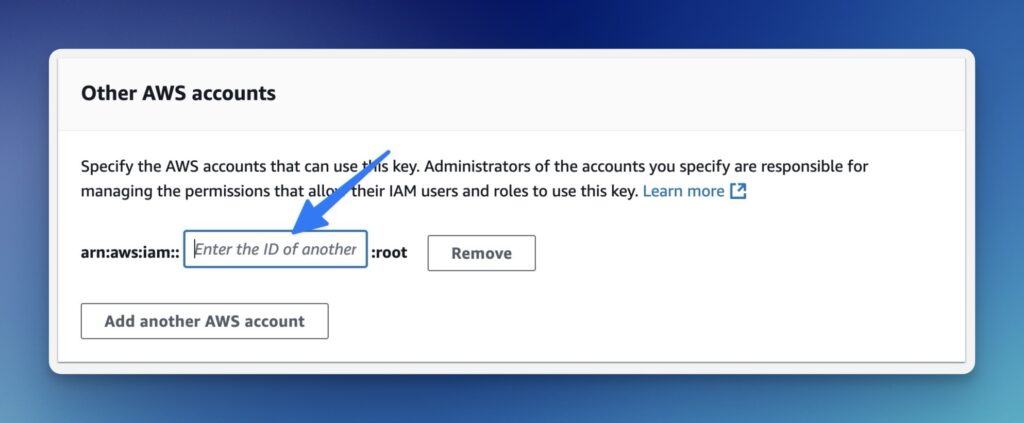
Close this window.
Back to creating our secret…
Make sure you refresh the dropdown for the encryption key and select your new one.
Then click Next.
For the secret name, we can do test/ApiKey/RCPs .
I won’t add a description, and then I’ll click on Edit permissions under Resource permissions.
I want to grant access my Account B, which is an external AWS account. We can do that with this policy:
{
  "Version": "2012-10-17",
  "Statement": [
    {
      "Sid": "AllowExternalAccountAccess",
      "Effect": "Allow",
      "Principal": {
        "AWS": "arn:aws:iam::272281913033:root"
      },
      "Action": [
        "secretsmanager:GetSecretValue",
        "secretsmanager:DescribeSecret"
      ],
      "Resource": "arn:aws:secretsmanager:us-east-1:396212980357:secret:*"
    }
  ]
}

Code language: JSON / JSON with Comments (json)
If you’re following along, you will need to change the principal account ID to your Account B, and then the resource ARN will need the correct region and Account A ID.
Click on Next.
We want to keep rotation disabled, so click on Next, then review and create.
Accessing the secret from Account B
Now I’ll authenticate to Account B from the AWS CLI.
Using the key’s ARN value, I can retrieve it from Account B like this:
❯ aws secretsmanager get-secret-value --secret-id "arn:aws:secretsmanager:us-east-1:396212980357:secret:test/ApiKey/RCPs-OyXRFA" --profile sandbox

{
    "ARN": "arn:aws:secretsmanager:us-east-1:396212980357:secret:test/ApiKey/RCPs-OyXRFA",
    "Name": "test/ApiKey/RCPs",
    "VersionId": "0d419289-3722-47b1-acb4-6e9da6d0e9c7",
    "SecretString": "{\\"api_key\\":\\"testingrcps\\"}",
    "VersionStages": [
        "AWSCURRENT"
    ],
    "CreatedDate": "2024-11-14T13:03:19.087000-07:00"
}


Code language: JavaScript (javascript)
Ok cool, that works as we wanted. Now let’s make it not work 😉
Enable the RCP to protect our secrets
Back in the management account, we need to attach our new RCP to Account A, which is the account with the secret value.
Navigate to RCPs by going to AWS Organizations → Policies → Resource control policies. Click on the OrgPrincipalsOnly policy, then Targets → Attach.
Select your Account A, then Attach policy.
Testing our RCP
Now re-run the command we used to retrieve the secret value.
❯ aws secretsmanager get-secret-value --secret-id "arn:aws:secretsmanager:us-east-1:396212980357:secret:test/ApiKey/RCPs-OyXRFA" --profile sandbox

An error occurred (AccessDeniedException) when calling the GetSecretValue operation: User: arn:aws:sts::272281913033:assumed-role/AWSReservedSSO_AdministratorAccess_8a29b66590b9ccb6/christophe is not authorized to perform: secretsmanager:GetSecretValue on resource: arn:aws:secretsmanager:us-east-1:396212980357:secret:test/ApiKey/RCPs-OyXRFA with an explicit deny in a resource control policy

Code language: JavaScript (javascript)
We now get access denied “with an explicit deny in a resource control policy.”
Nice! Even though we’ve granted permission to the external account to access this secret, the RCP is explicitly denying access. It’s acting as another layer of defense against misconfigurations.
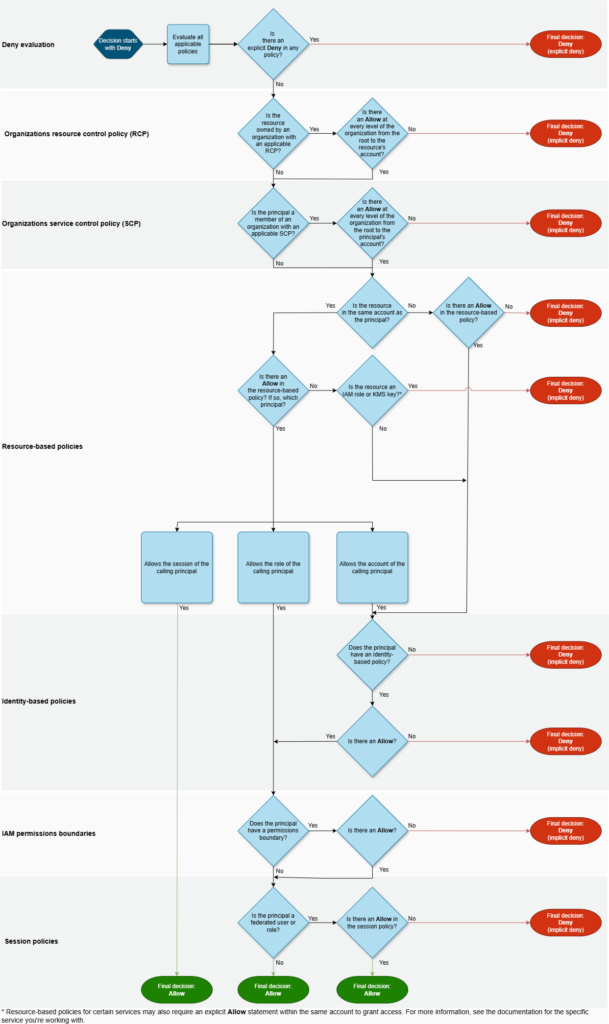
The new IAM policy evaluation flow
To reflect this new feature, AWS has updated their IAM policy evaluation flow to this:
Conclusion
As we conclude, try to think about resources and accounts you can protect by using RCPs. Remember, start small and test thoroughly before deploying to production, but definitely consider adding this layer of defense to your organization!


Responses