

Get notified when Prowler runs AWS assessments (Part 3)

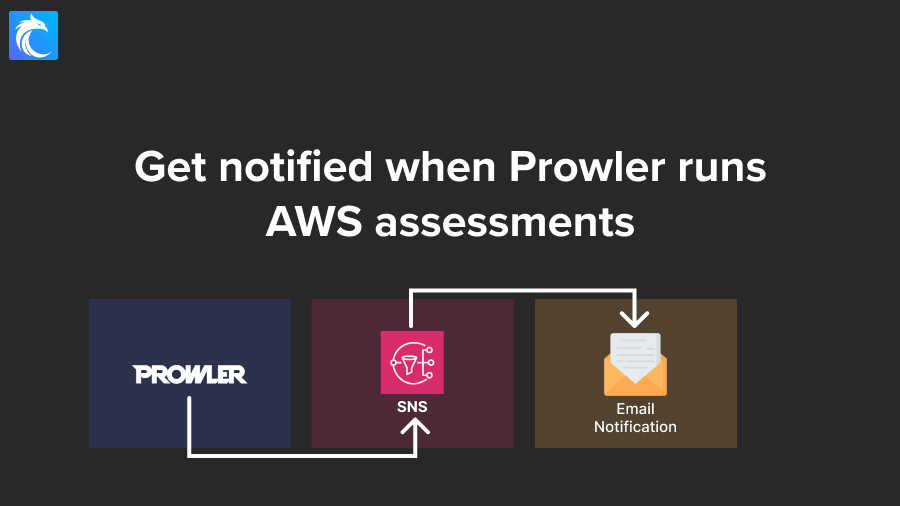
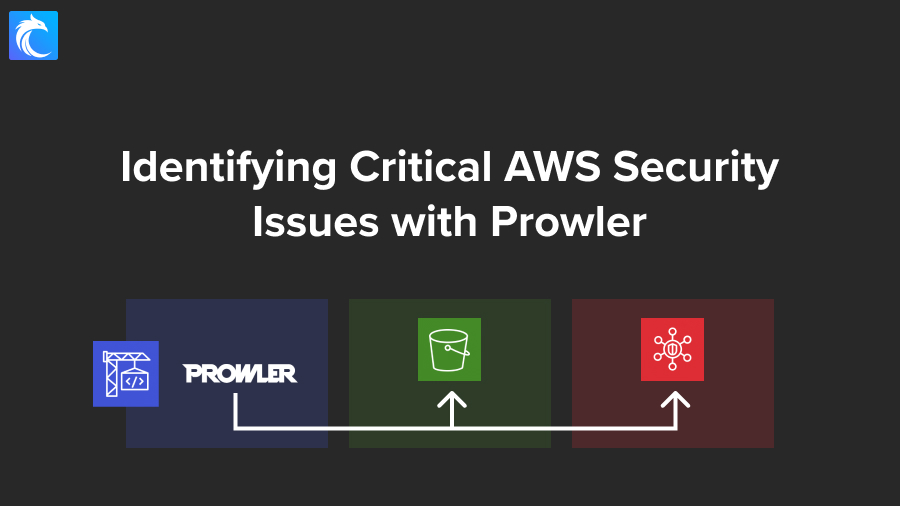
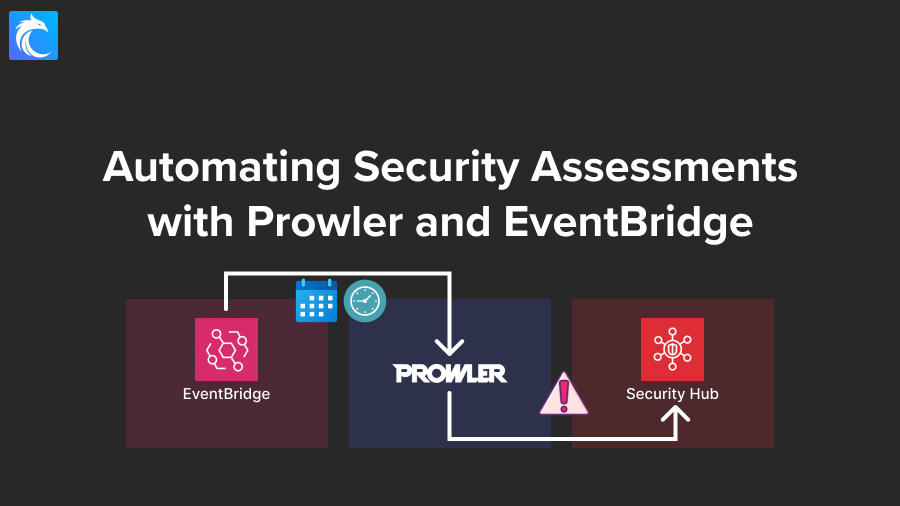
In prior posts, we learned how to configure Prowler to run in CodeBuild and to push findings to Security Hub, and then we set up automated scans using EventBridge. Next, we need to set up notifications so that we get notified whenever Prowler is running assessments and so that we can check out findings in Security Hub.
In this post, we’ll see exactly how to set that up using SNS so that you receive email notifications.
Let’s get started.
Prerequisites
If you want to follow along, you’ll either need to go through the prior two videos and build out our project, or you’ll need to have another CodeBuild project ready to go.
As you can see, I’ve got my ProwlerScans CodeBuild project ready to go from part 2:

Adding notifications
To add notifications, we have multiple options and we could take a few different approaches, which by the way is true of most things in AWS. You rarely only have one single solution.
In this case though, CodeBuild has an integration with SNS, so it makes sense for us to take advantage of that.
CodeBuild notifications
In CodeBuild projects, click on your project name, and then go to Actions → Create notification. This is where you can create notification rules that trigger based on either a build state or a build phase. Let’s start configuring this and you’ll see what I mean.

Notification rule settings
I’ll give it a name of ProwlerScanStartsRunning.
For detail type, you can select either “Full” or “Basic.” Basic will only include information provided in resource events, whereas full will include other information. You can play around with this setting to see the difference, but since there won’t be anything sensitive going on, we can select Full.

Events that trigger notifications
Next, we can configure the event or events that trigger notifications, including:
- Build state
- Failed
- Succeeded
- In-progress
- Stopped
- Buide phase
- Failure
- Success
What you select here is entirely up to you. Maybe you only care to know if there are failures, or vice versa. Or maybe you want to trigger for every state change.
For our demo, let’s Select all.

Targets
Next, we need to pick one or more targets.
Let’s click on Create target.
We have three options for targets:
- SNS topic
- AWS Chatbot for Microsoft Teams
- AWS Chatbot for Slack

SNS is the Simple Notification Service which is what we’re going to use, and AWS Chatbot is a separate service.
For the topic name, I’ll change it from codestar-notifications to notifications-prowlerscans.

The auto-populated “codestar” part of the name comes from the AWS CodeStar service, which was discontinued and removed from AWS. But as you can see, there are still remnants of it left. So you can ignore that and just remove it.
Anyway, save changes, and that will automatically populate our target type and target.
Click on Submit.
You should now see the notification rule created as configured.

We’re not done yet though because that only created the topic, it did not create a subscription. To do that, we need to scroll down and click on “Address or endpoint” which will take us to SNS.

Scroll until you see “Subscriptions (0)” and click on Create subscription.

For the Protocol, select either Email or Email-JSON which will simply change the formatting. Regular email is easier to read, but Email-JSON can make it easier for additional processing. I’ll pick Email-JSON so you can see what it looks like.

Then type in your email address for the Endpoint.
Go ahead and Create subscription.
Now, and this is very important, you have to confirm subscription or you won’t receive any notifications. AWS is required to do this for spam prevention, so check your inbox in a few seconds and you should have a confirmation email.
If not, check your junk mail.
You know you’re good to go when the “Status” changes from Pending confirmation to Confirmed (once you refresh the page).
With that done, we can now go back to CodeBuild.
Manually test notifications
Let’s go ahead and manually test to make sure that the notifications work as expected. Navigate back to “Build Project” and click on Start build.

In a separate window, go back to your email inbox and refresh after a few seconds have gone by.
Since we’re dealing with email, it could take a little while for the notification to come through.
You’ll receive multiple notifications right away — and this is why you may want to filter out some of the triggers. We selected all, but as you can see, this is probably a little bit too much — or maybe not. Depends on you.

Since we selected all, we are getting notified for every build phase change.
To cut down on noise, you could try removing some of the triggers and see which ones you actually need.
Conclusion
As we wrap up this part of the project, this is a good time to think about how you could also apply this type of approach to other projects or activities you have going on in your AWS accounts.
Once you’re done, you may want to delete the resources we’ve generated in this project, or you may want to keep them around to continue experimenting. At some point, we will release a part 4 that will push findings to QuickSight so you can visualize them in graphs and charts. After that, we will also be releasing lessons on how to turn all of this into infrastructure as code, though we don’t yet have a release date. If you’re interested in this, let us know in the comments below!


Responses